
Getting Your UV Curing Right (Without the Headaches)
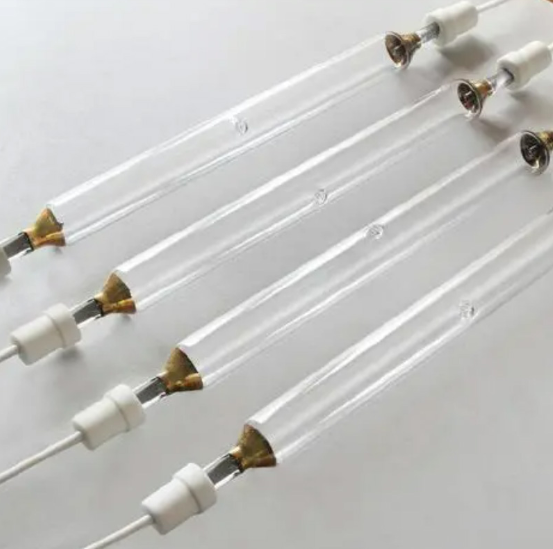
I’ve spent a lot of time on the road—visiting about 3,000 printing plants—and I noticed something. There’s usually a big gap between what the lamp manual says and what actually happens on the shop floor. Most of the time, operators are fighting with inconsistent cures. Why? Because they’re ignoring the tug-of-war between how much power the lamp is putting out and how fast the conveyor is moving. The magic number: 120W/cm We landed on 120W/cm for our mercury lamps for a reason. It’s the sweet spot. It gives you enough UVC and UVB energy to snap those inks into place quickly, but it doesn’t go overboard. If you crank the wattage too high, you’ll start scorching your materials or deal with “ink peel,” which is a nightmare. But if you go too low? Your line slows to a crawl. And when the line slows down, you’re losing money. It’s all about the photons These lamps use mercury-vapor discharge to hit a broad spectrum. We use high-purity quartz tubing because we don’t want the glass soaking up the UV radiation before it even hits the ink. Think of the 120W/cm rating as more than just heat. It’s about photon flux. You need that specific concentration of energy to punch through thick ink layers and cure the print all the way down to the film. Real-world warnings Here’s the thing: adding these to your line isn’t just “plug and play.” A 120W/cm load puts out a massive amount of infrared heat along with the UV light. You’ve got to get your cooling fans and reflectors right, or you’re asking for trouble. I’ve seen it happen—dirty or pitted reflectors cause the power density to tank, and suddenly you’ve got uncured spots all over your prints. We made the footprint a drop-in replacement so it fits most standard curing tunnels. But a word of advice: don’t just slam these lamps to max capacity the second you hit the switch. That kills the electrodes. To keep them from burning out, just ramp the power up gradually when you start the machine. Your equipment will thank you.