
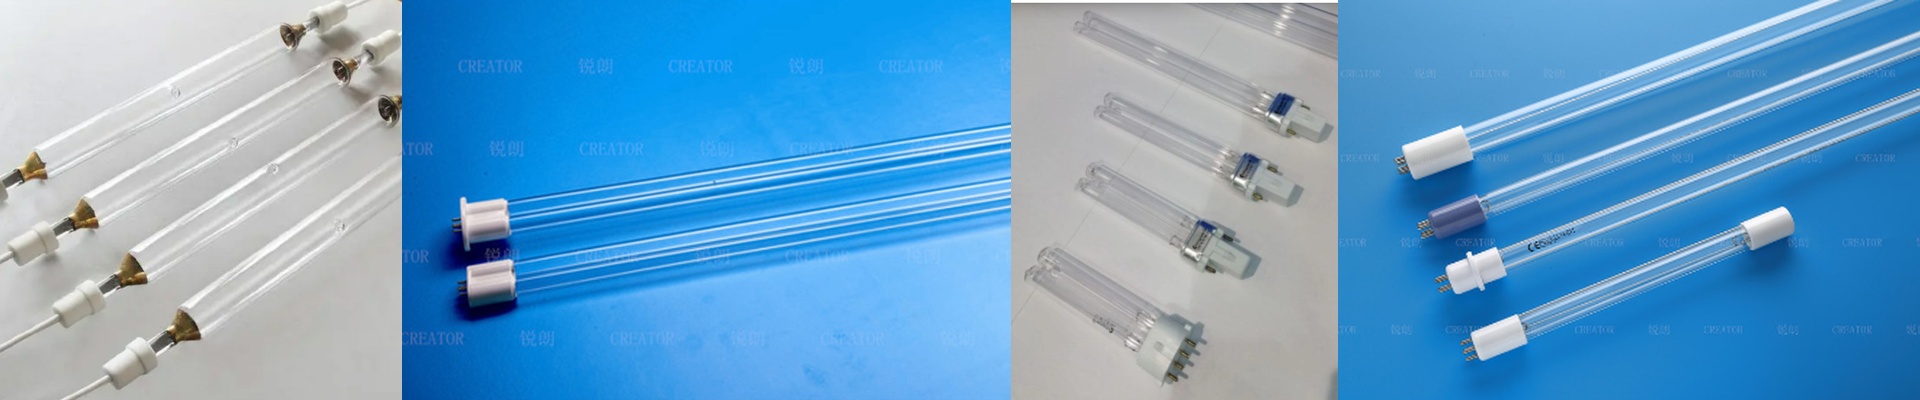
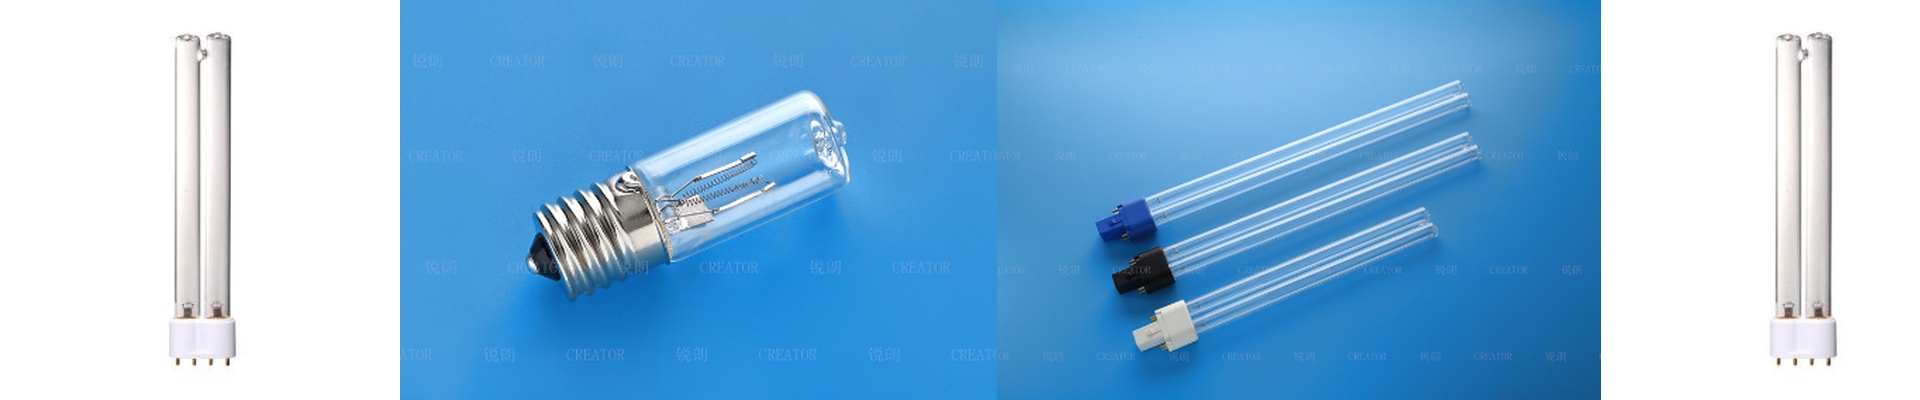
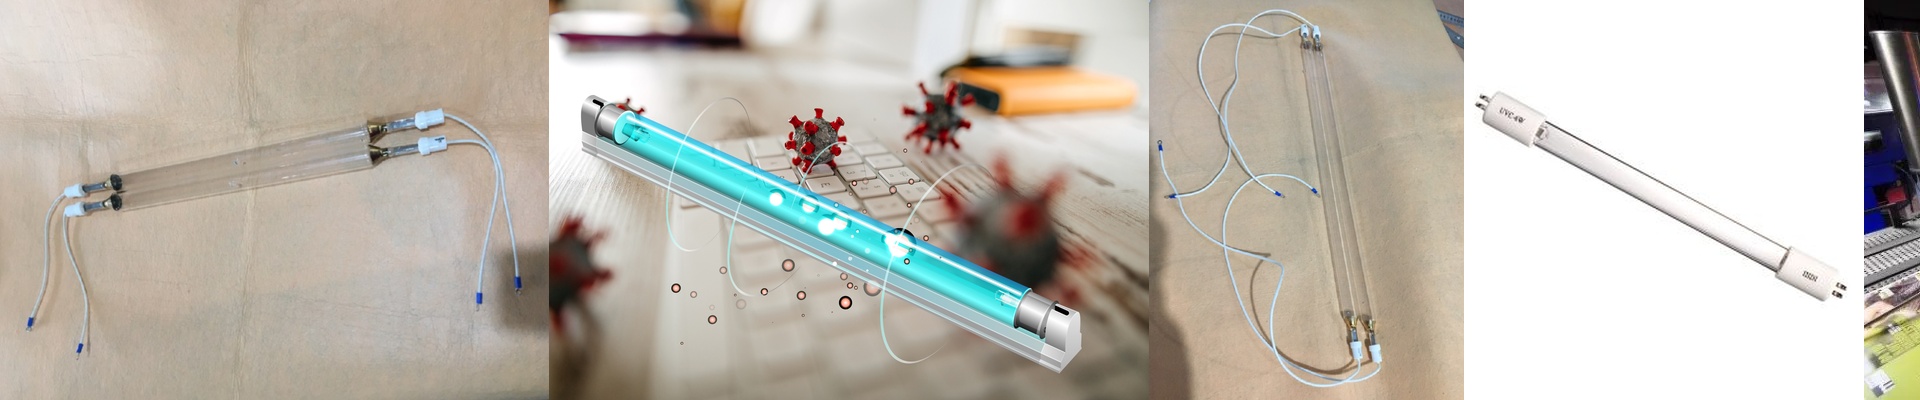
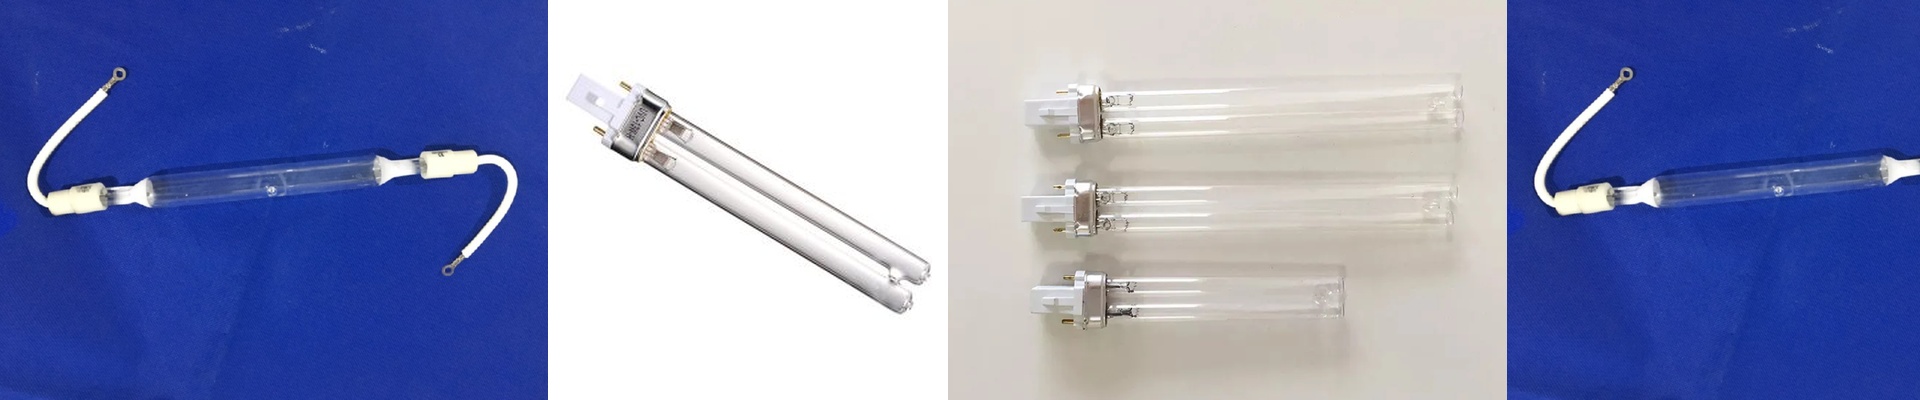
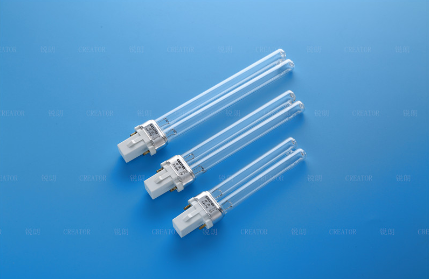
On a high-speed UV offset or flexo line, downtime isn’t abstract—it’s substrate down the drain and shipments you can’t make. When a lamp goes down, the arc tube usually isn’t the first thing to fail. More often than not, it’s the connector interface: overheated, arcing, or just slightly out of alignment. We built our reputation on solid OEM-level build and straightforward pricing by fixing that weak link. Our 4-pin UV lamp connector is engineered to give you repeatable electrical contact, dependable ignition, and stable spectral output—so your photoinitiator chemistry cures the same way, shift after shift. What matters, technically A 4-pin UV lamp connector isn’t a commodity. It’s the gate that controls repeatable curing. Get the pin spacing and polarity right, and you preserve the lamp’s intended ignition profile and electrode temperature. That keeps the mercury vapor lamp’s spectral distribution on target—holding the 365nm, 385nm, or 405nm peak your ink or coating needs for cross-linking. The payoff is consistent peak irradiance and steady energy density (mJ/cm²) across the web, so photoinitiator conversion and surface cure don’t drift. Why it holds up in production Our 4-pin design is built around OEM-grade materials and geometry: high-temperature insulators, anti-oxidation contacts, and a positive lock that won’t loosen under vibration. In real-world running, that means fewer misfires, less stress on the lamp, and stable light output through the full service life. You get faster curing windows, fewer rejects from under-cure, and fewer unplanned stops—without paying a premium. Here are the practical details Match the connector to the socket and to the lamp’s rated voltage and power. Some machines run proprietary pin layouts, so verify pin spacing, keying, and current rating before you install. And keep the lamp within its specified wall temperature and airflow. Overdriving the arc tube cuts life and can shift spectral output—even when the connector itself is perfect.