

Getting Your UV Curing Right for High-End Fabrics
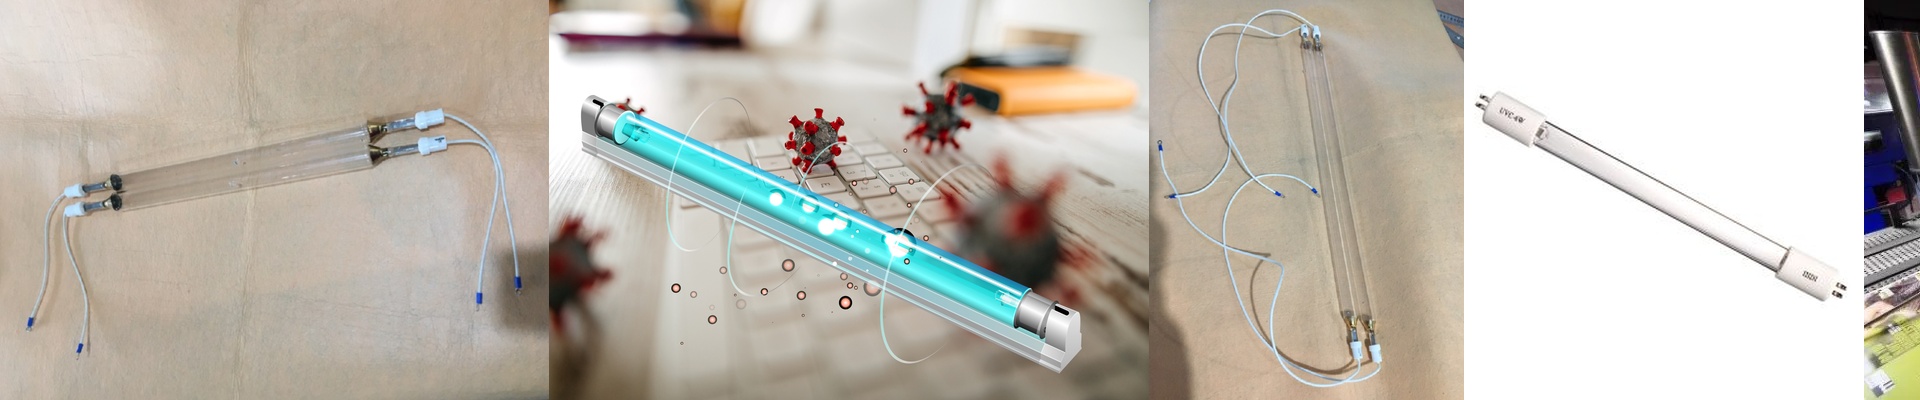
If you’re running a high-volume line for fine fabrics, you know the deal. The UV curing stage is where everything is won or lost. It’s the difference between a crisp, perfect print and a smeared mess that you have to toss in the bin. Our replacement lamps are built to keep that spectral output steady. The goal is simple: the ink needs to bond the second the fabric hits the conveyor. No delays. No guesswork.
The Nitty-Gritty on Power and Fit
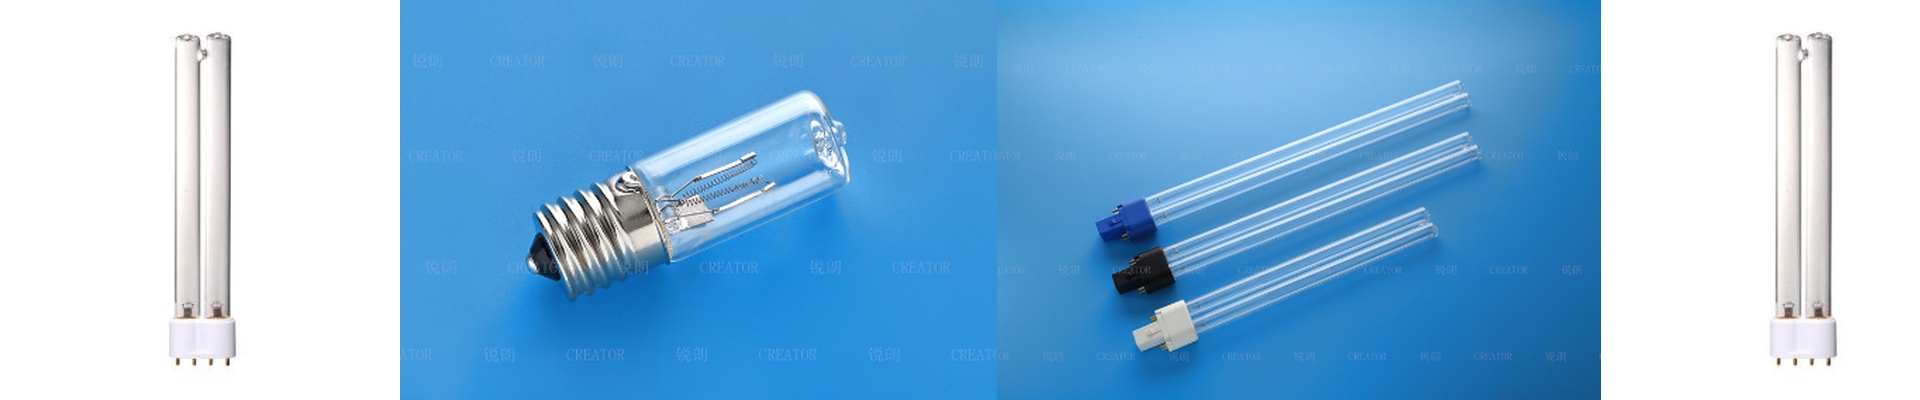
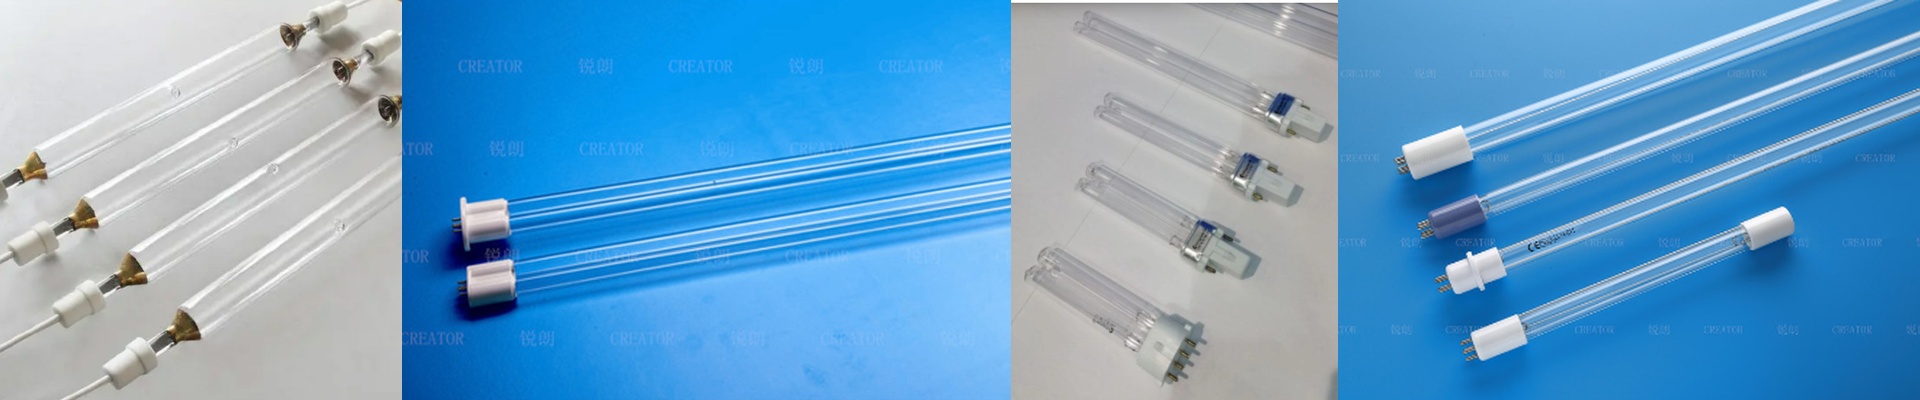
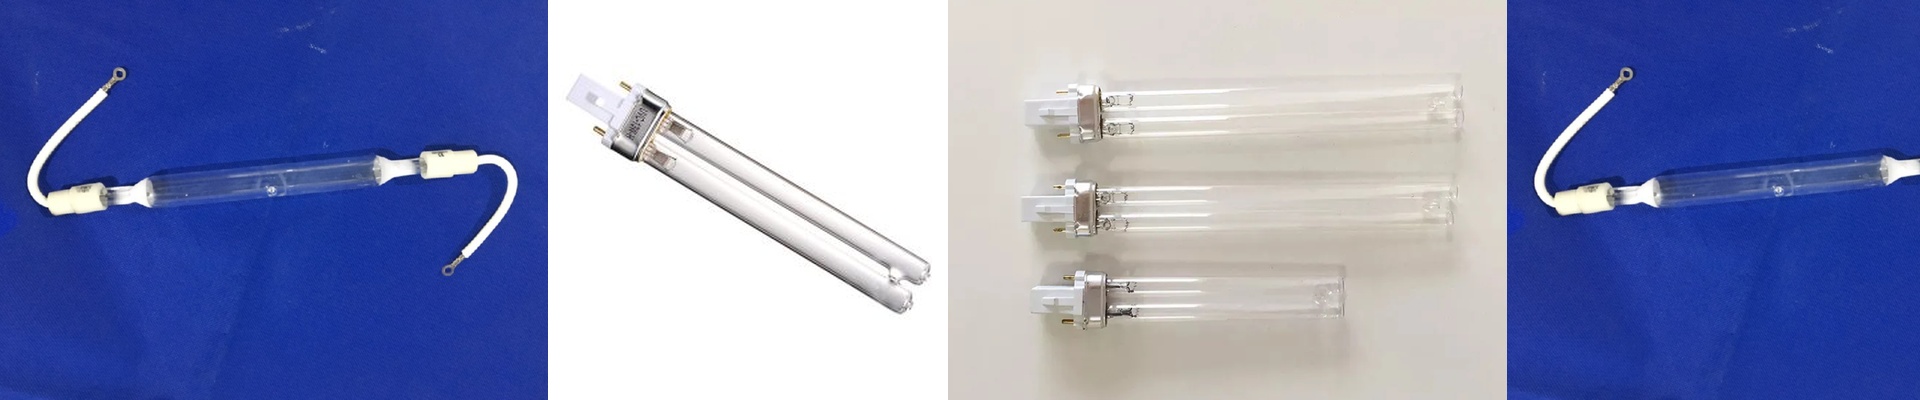
Here’s the thing about wattage and voltage: they have to match your ballast exactly. If you try to squeeze a higher-wattage tube into a system that can’t handle it, you’re going to fry your transformers. And don’t overlook the measurements. A single millimeter of difference means the lamp won’t sit right in the reflector. When that happens, you get “cold spots.” You’ll end up with patches of uncured ink on the garment, and that’s a nightmare to fix.
Why the Glass Matters
We use high-purity fused quartz for the envelope because it lets the UV radiation through without soaking it up. Plus, we add specific coatings to block out the infrared heat. Why? Because you want the chemical reaction to happen, but you don’t want to melt your synthetic fibers. You get the cure without the scorch marks. It’s a delicate balance, but it works.
Keeping Things Running
We designed these as drop-in replacements. You slide them in, wire them up, and you’re back in business. No long weekends of downtime. But keep in mind, these lamps wear out. Even if the bulb still looks bright and glows, the actual UV-C output is dropping behind the scenes. My advice? Keep a log of your hourly run-time. Once that output dips below 80%, your cure rate slows down. You’ll start to notice the ink feels a bit tacky to the touch.**That is your signal.**Swap them out right then. Don’t wait for the lamp to totally die and kill your production line.